.svg)


Atomic Bot is now available on Windows — completely free and open-source, bringing one click OpenClaw setup to PC users.
If you've been waiting to try OpenClaw (the most viral AI project of 2026) but didn't want to install it via terminal commands — this is your moment.
🦞What Is OpenClaw? (30-Second Version)
OpenClaw is a personal AI assistant that runs in the background on your computer. It can:
- Read and reply to your emails
- Manage your calendar and schedule
- Browse the web on your behalf
- Organize your files
- Send you proactive reminders
- Learn about you and get better over time
Created by Austrian developer Peter Steinberger, OpenClaw became one of the fastest-growing AI projects of early 2026. By February, users had created over 1.5 million AI agents on the platform.
The problem? Setting it up on Windows is pretty difficult — unless you’re using Atomic Bot.
✅ How to set up OpenClaw on Windows with Atomic Bot on
We could talk about how easy it is to set up Atomic Bot on Windows — but it’s easier to just show you. Here’s a quick walkthrough of the setup process. It only takes a few seconds to read.
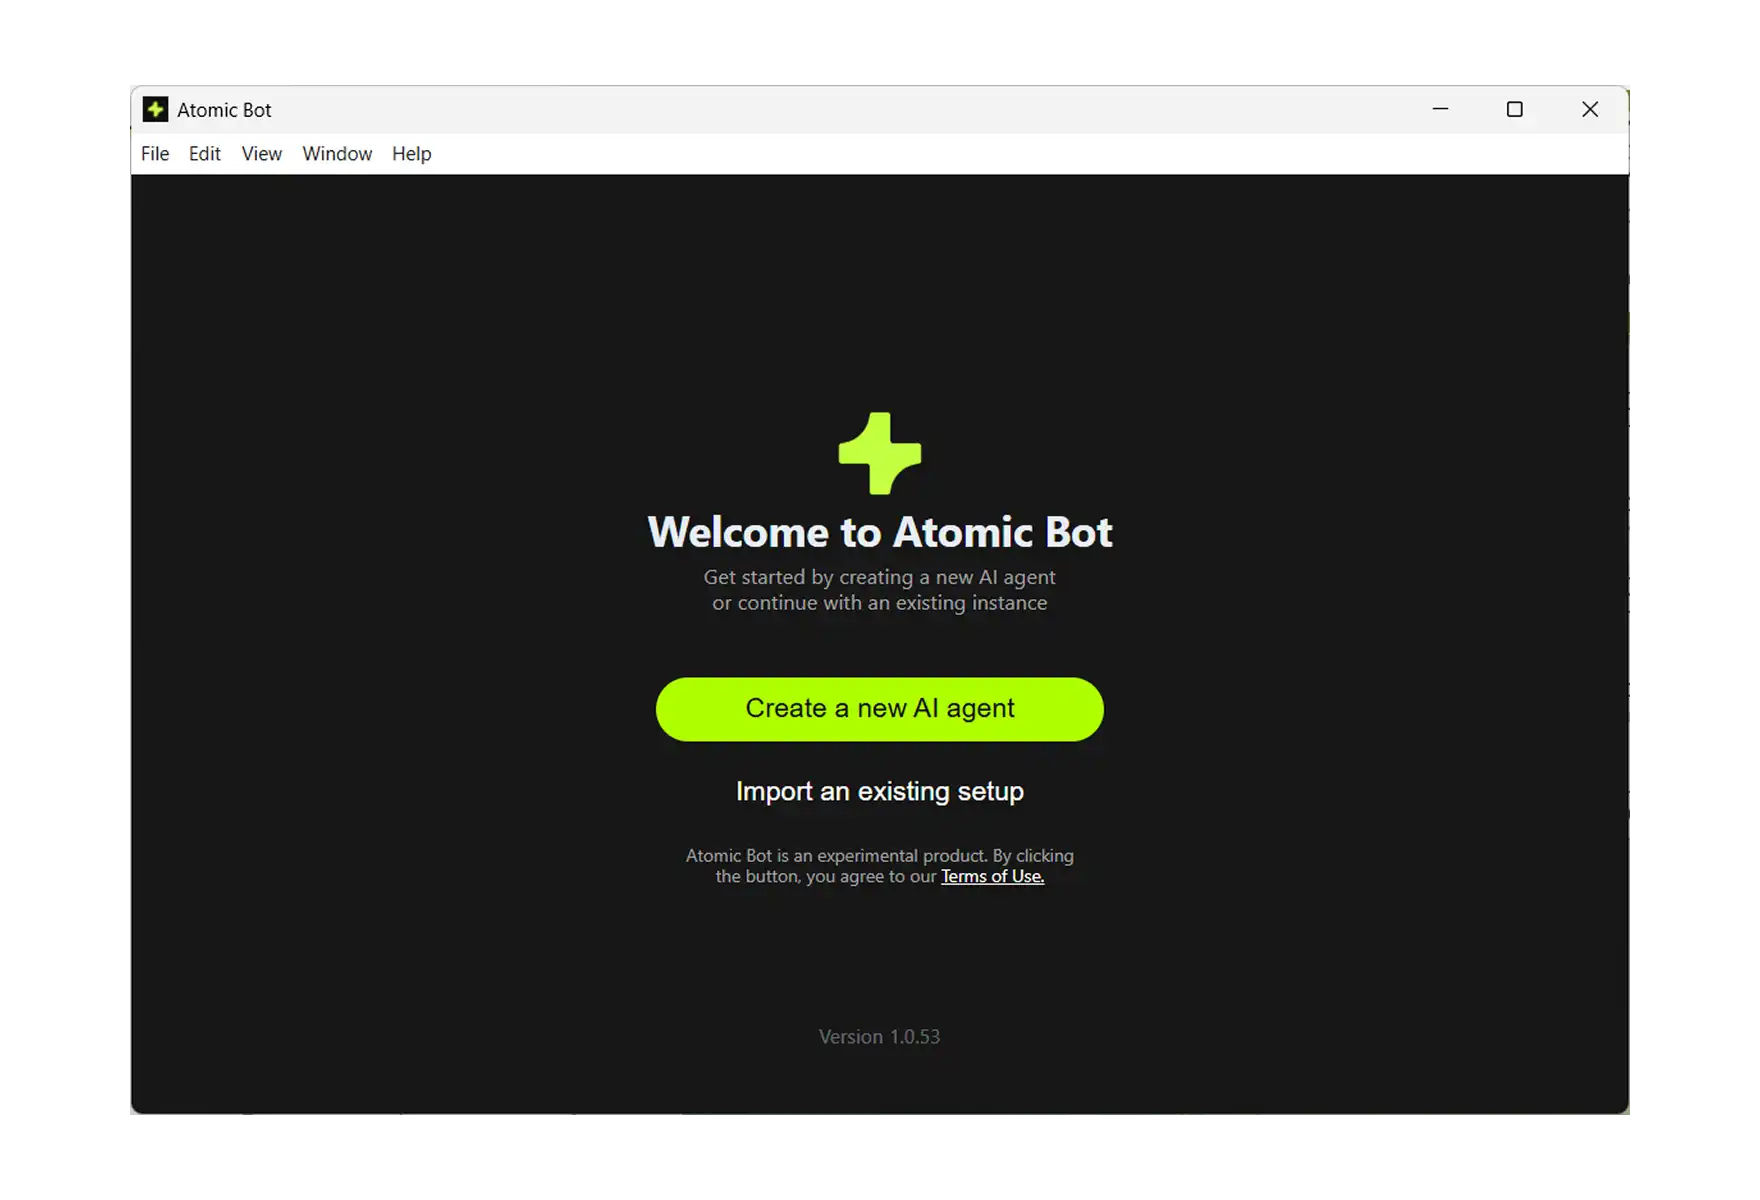
Step 1: Download and Launch
- Go to atomicbot.ai
- Download the Windows installer
- Run the .exe, install like any normal app
- Launch Atomic Bot
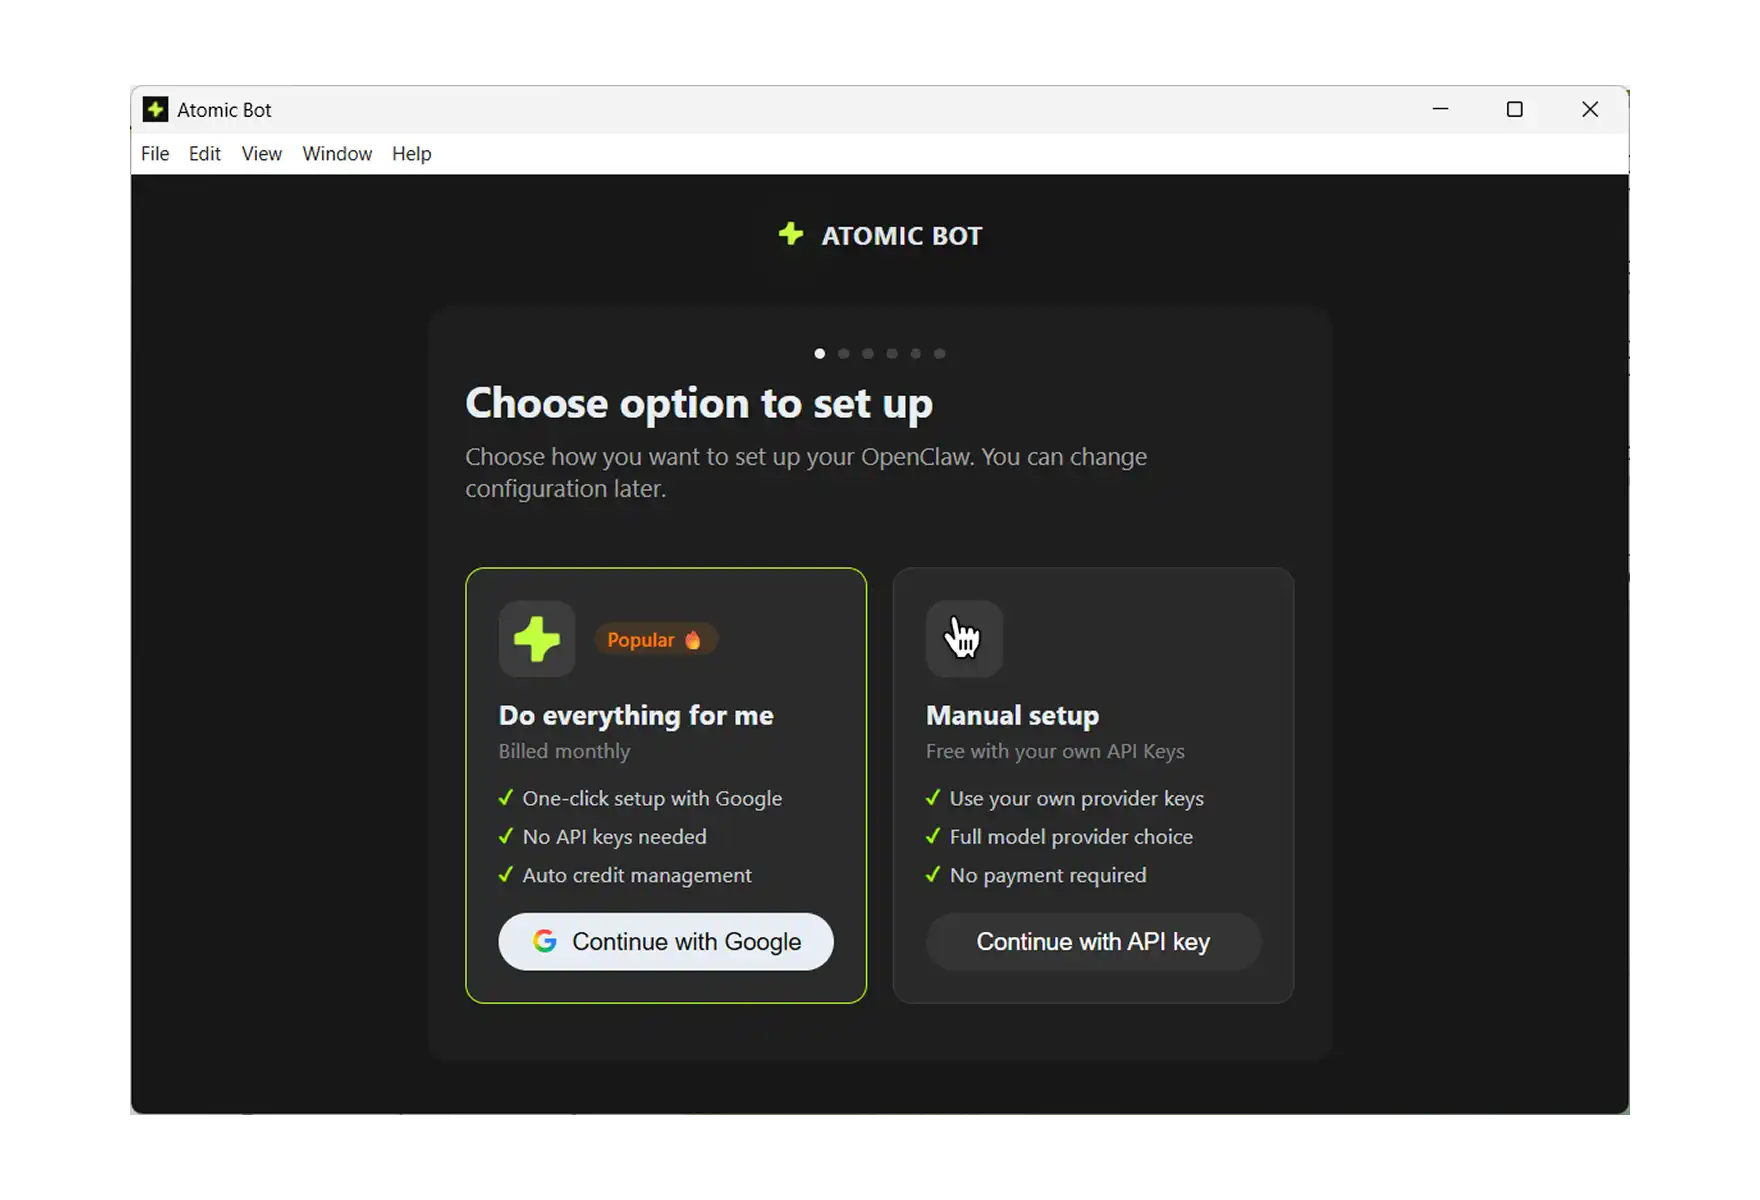
- Сhoose your OpenClaw setup option
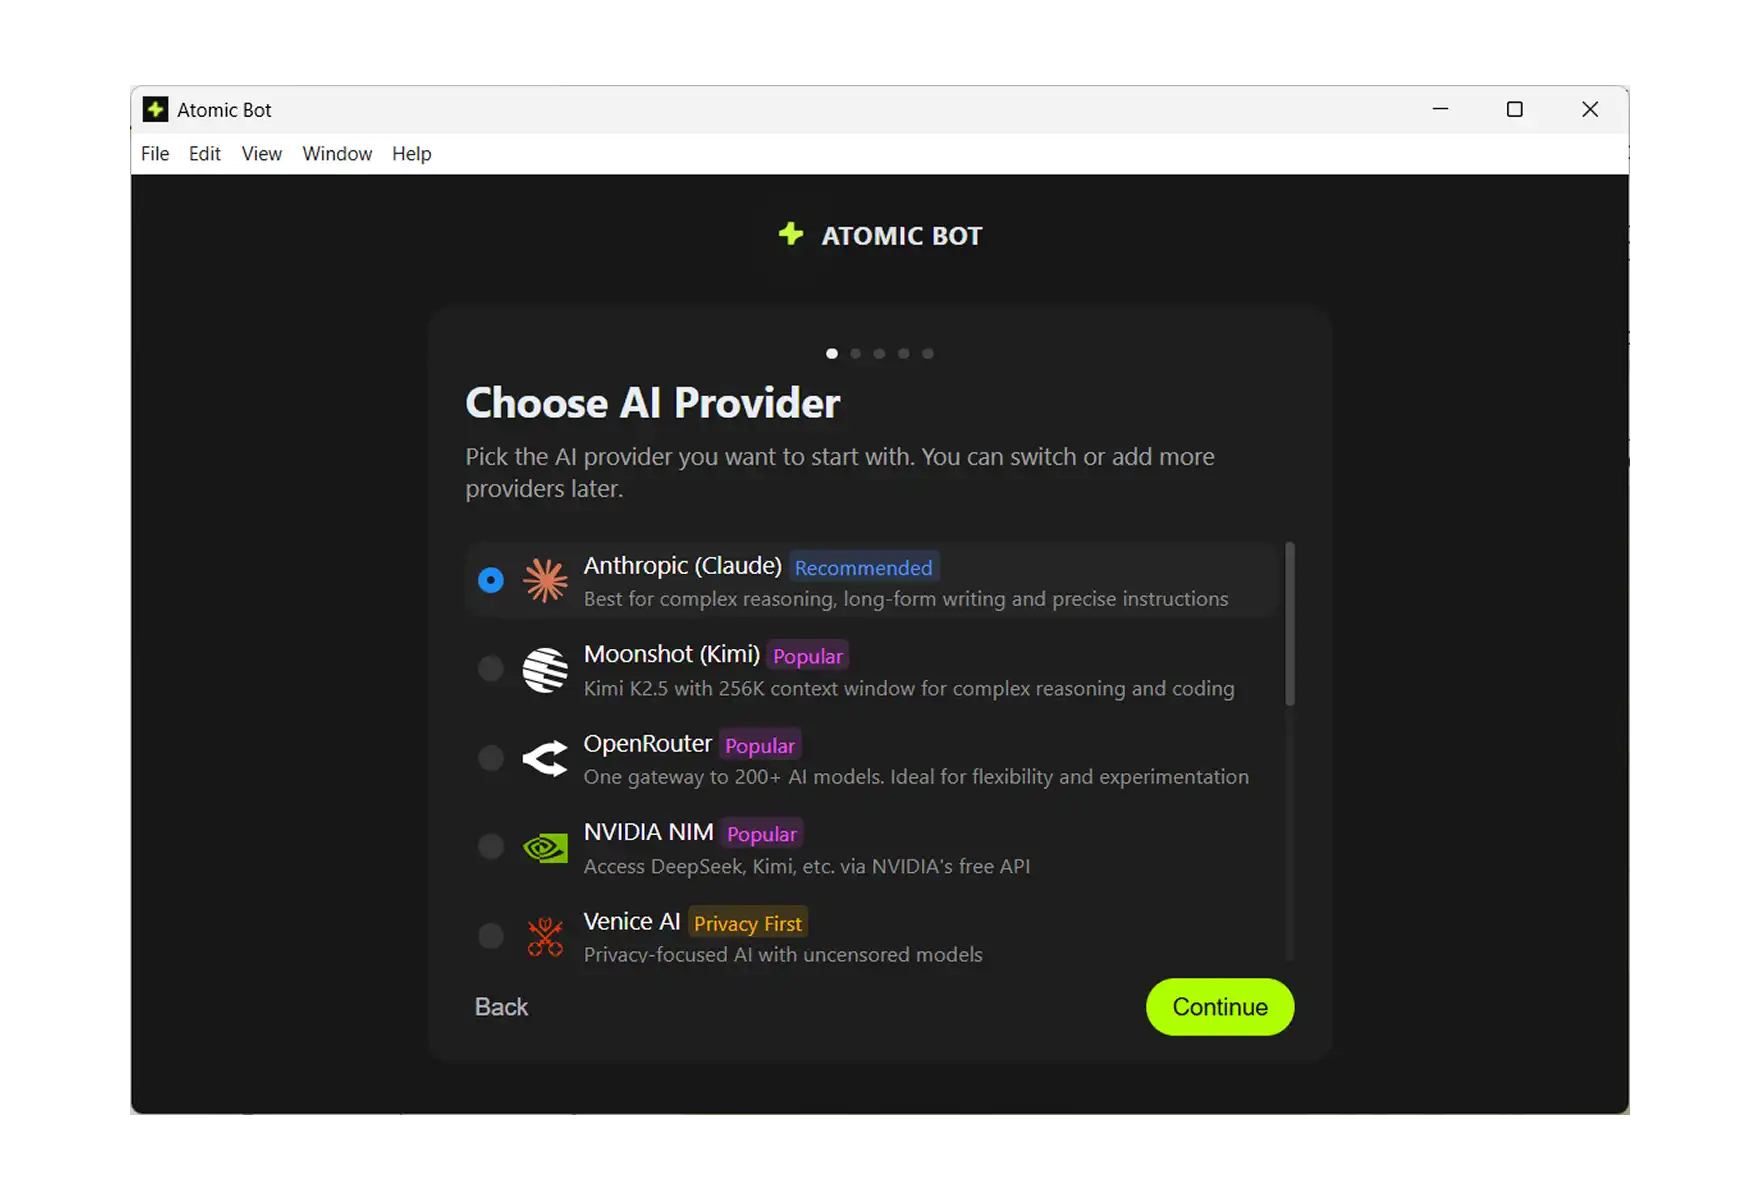
Step 2: Choose Your AI Provider
Atomic Bot supports multiple AI providers out of the box:
- Anthropic (Claude) — marked as Popular
- OpenAI (GPT)
- Google (Gemini)
- MiniMax
- Z.ai (GLM)
Pick the one you prefer. You can always change this later in settings.
.webp)
Step 3: Enter Your API Key
Atomic Bot will ask for your API key from the provider you selected. There's a direct link to get one — click Get API key and it takes you straight to the right page. Paste your key, hit Continue.

Step 4: Select Your AI Model
Now pick the specific model you want to power your assistant. For example, if you chose OpenAI, you'll see options like:
- GPT-5.2 Pro (Fast)
- GPT-5.2 (Pro)
- GPT-5.2 Mini (Ultra)
- Codex
- GPT-4.5
Each shows context window size and capabilities. Just pick one — you can always change this later.
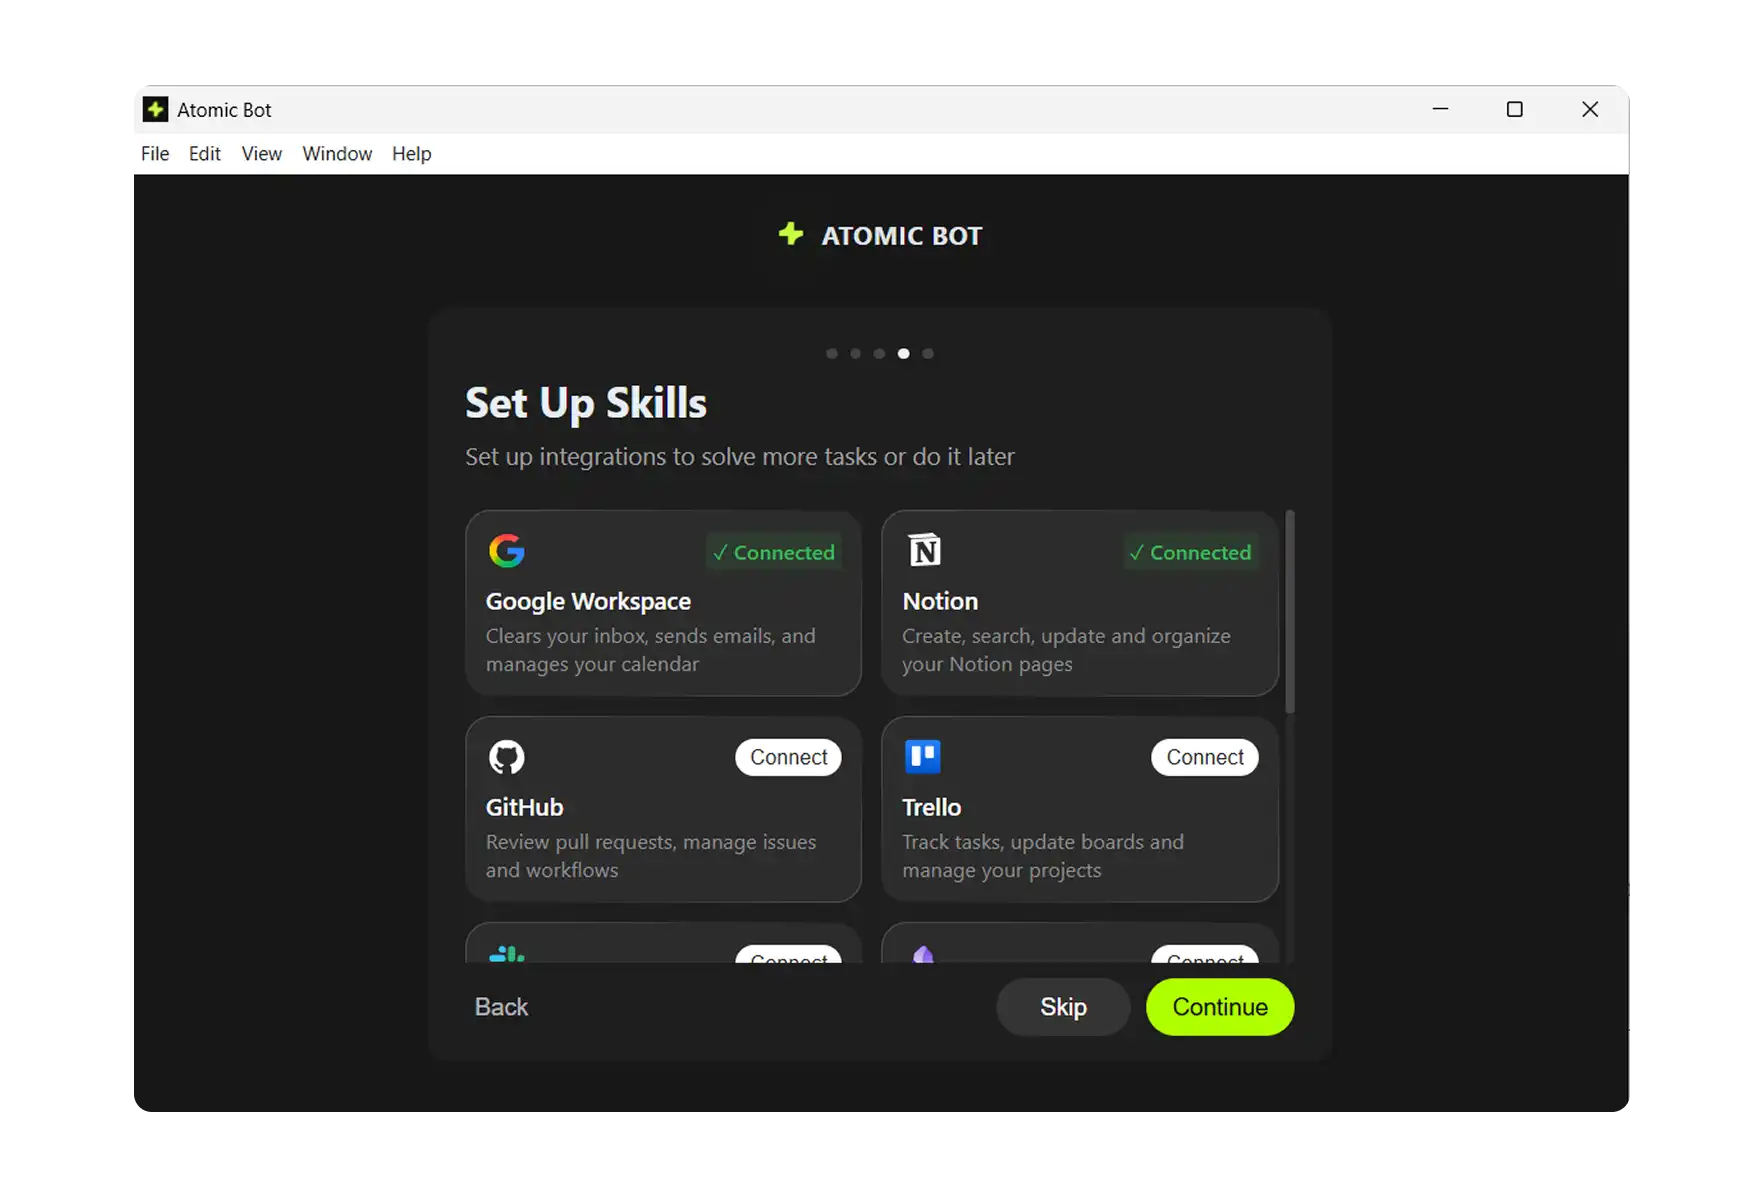
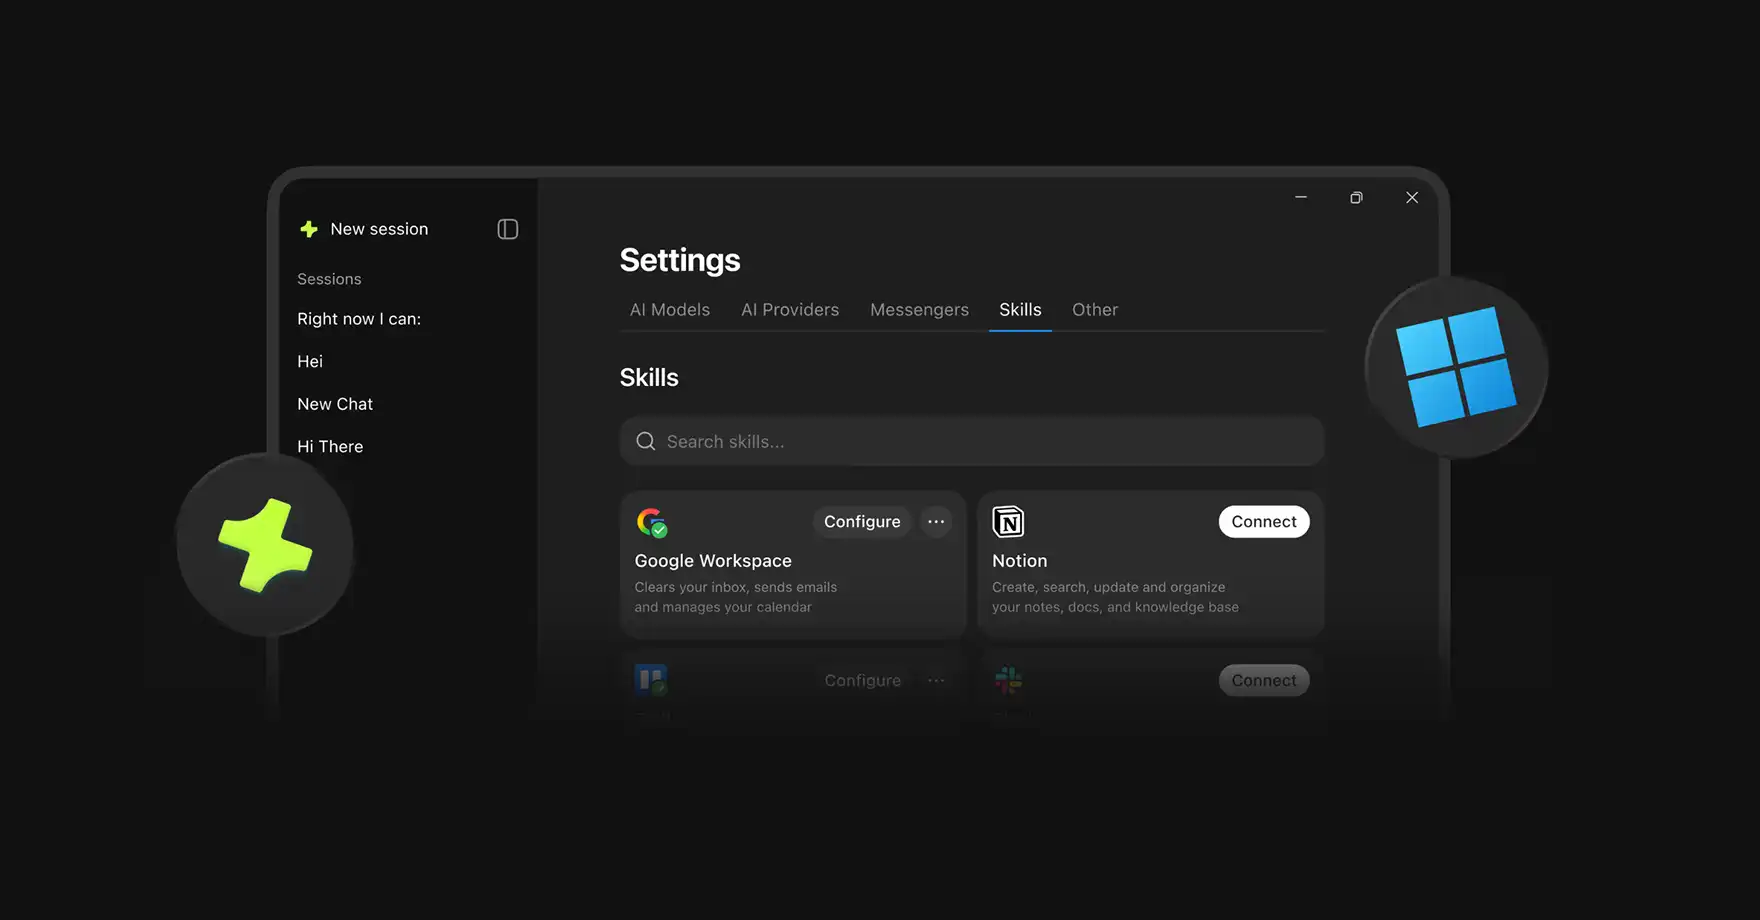
Step 5: Set Up Skills
This is where it gets fun. Skills are integrations that let your AI actually do things:
- Google Workspace — inbox, emails, calendar
- Notion — notes, docs, knowledge base
- Trello — task boards, project management
- Gemini — multimodal AI capabilities
- Nano Banana — image generation
- And more coming soon
Connect what you need, skip what you don't. You can always add more later.
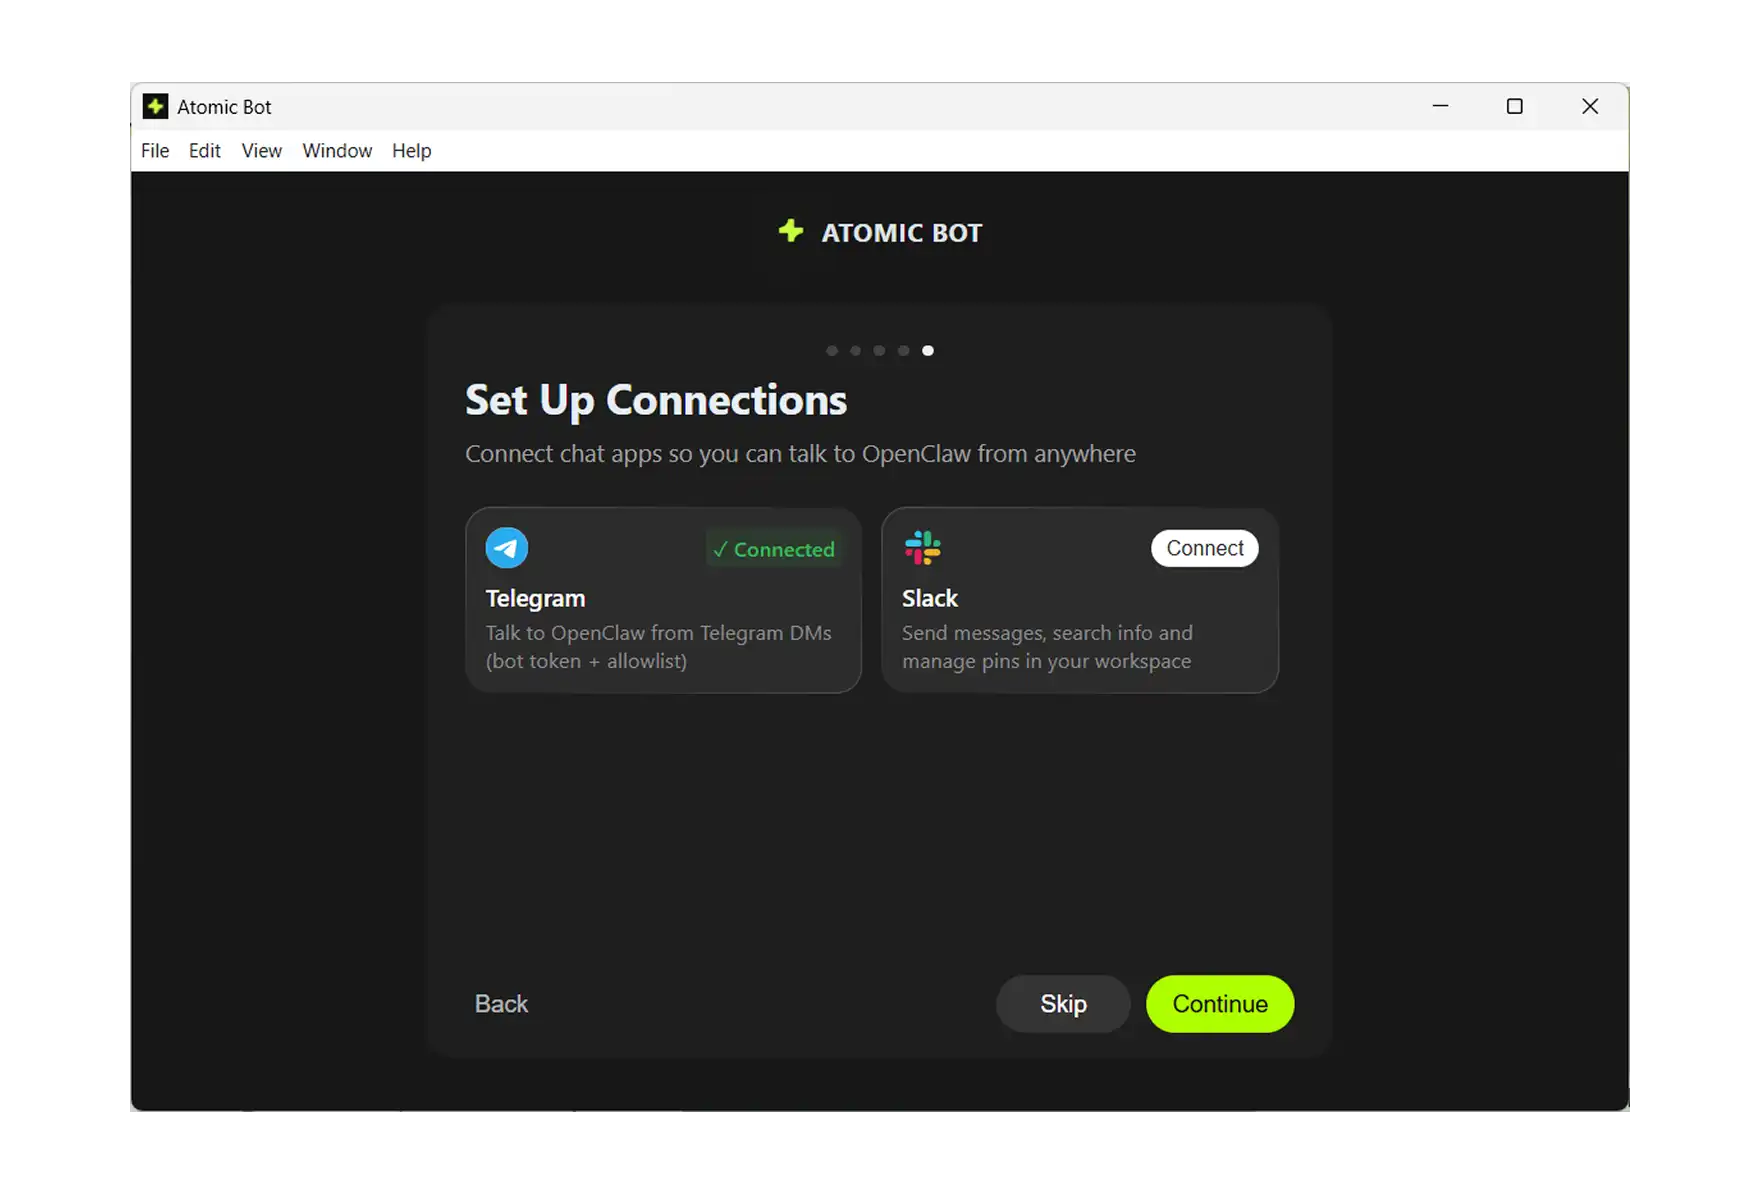
Step 6: Connect Your Messenger
Last step — choose how you want to talk to your AI:
- Telegram (most popular)
- Discord
- Slack
- Signal
- Line
- Google Chat (coming soon)
Pick one, authorize it, and you're done.
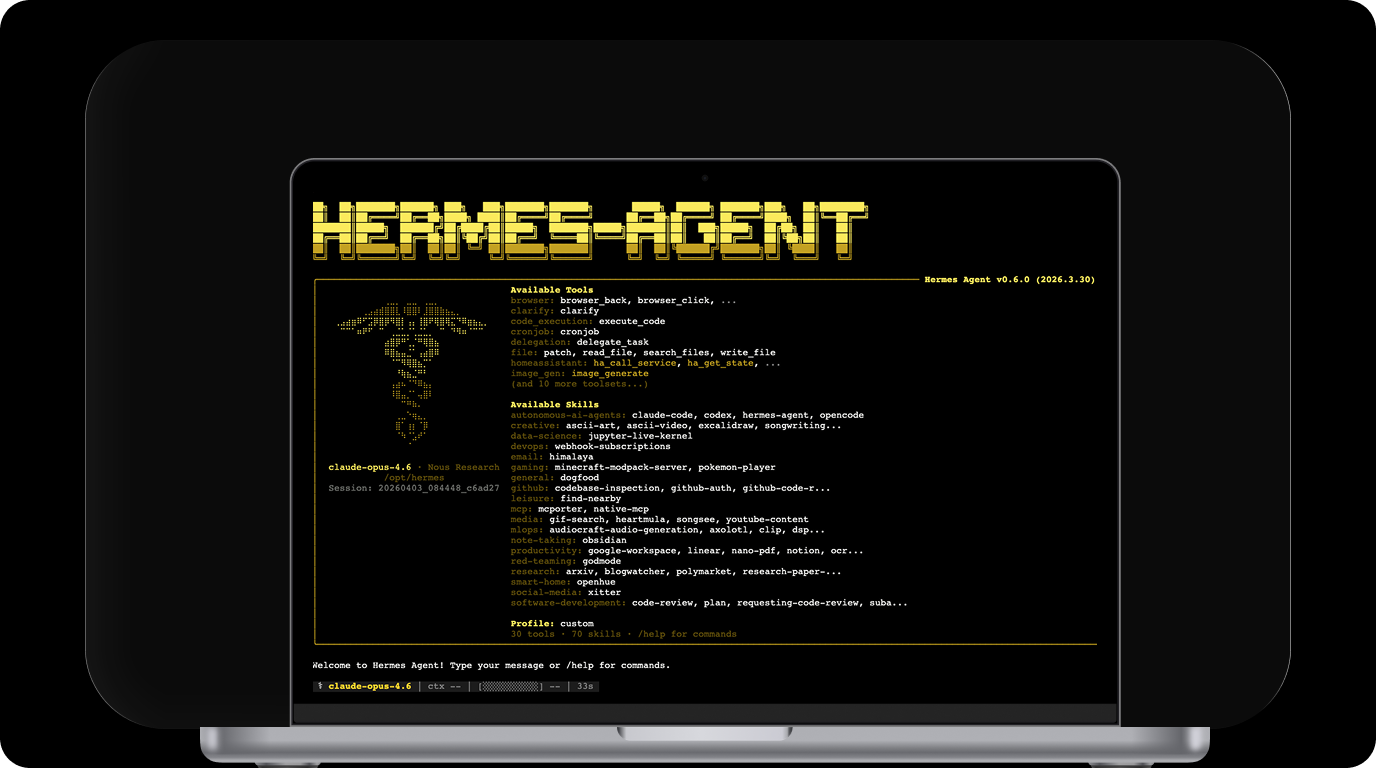
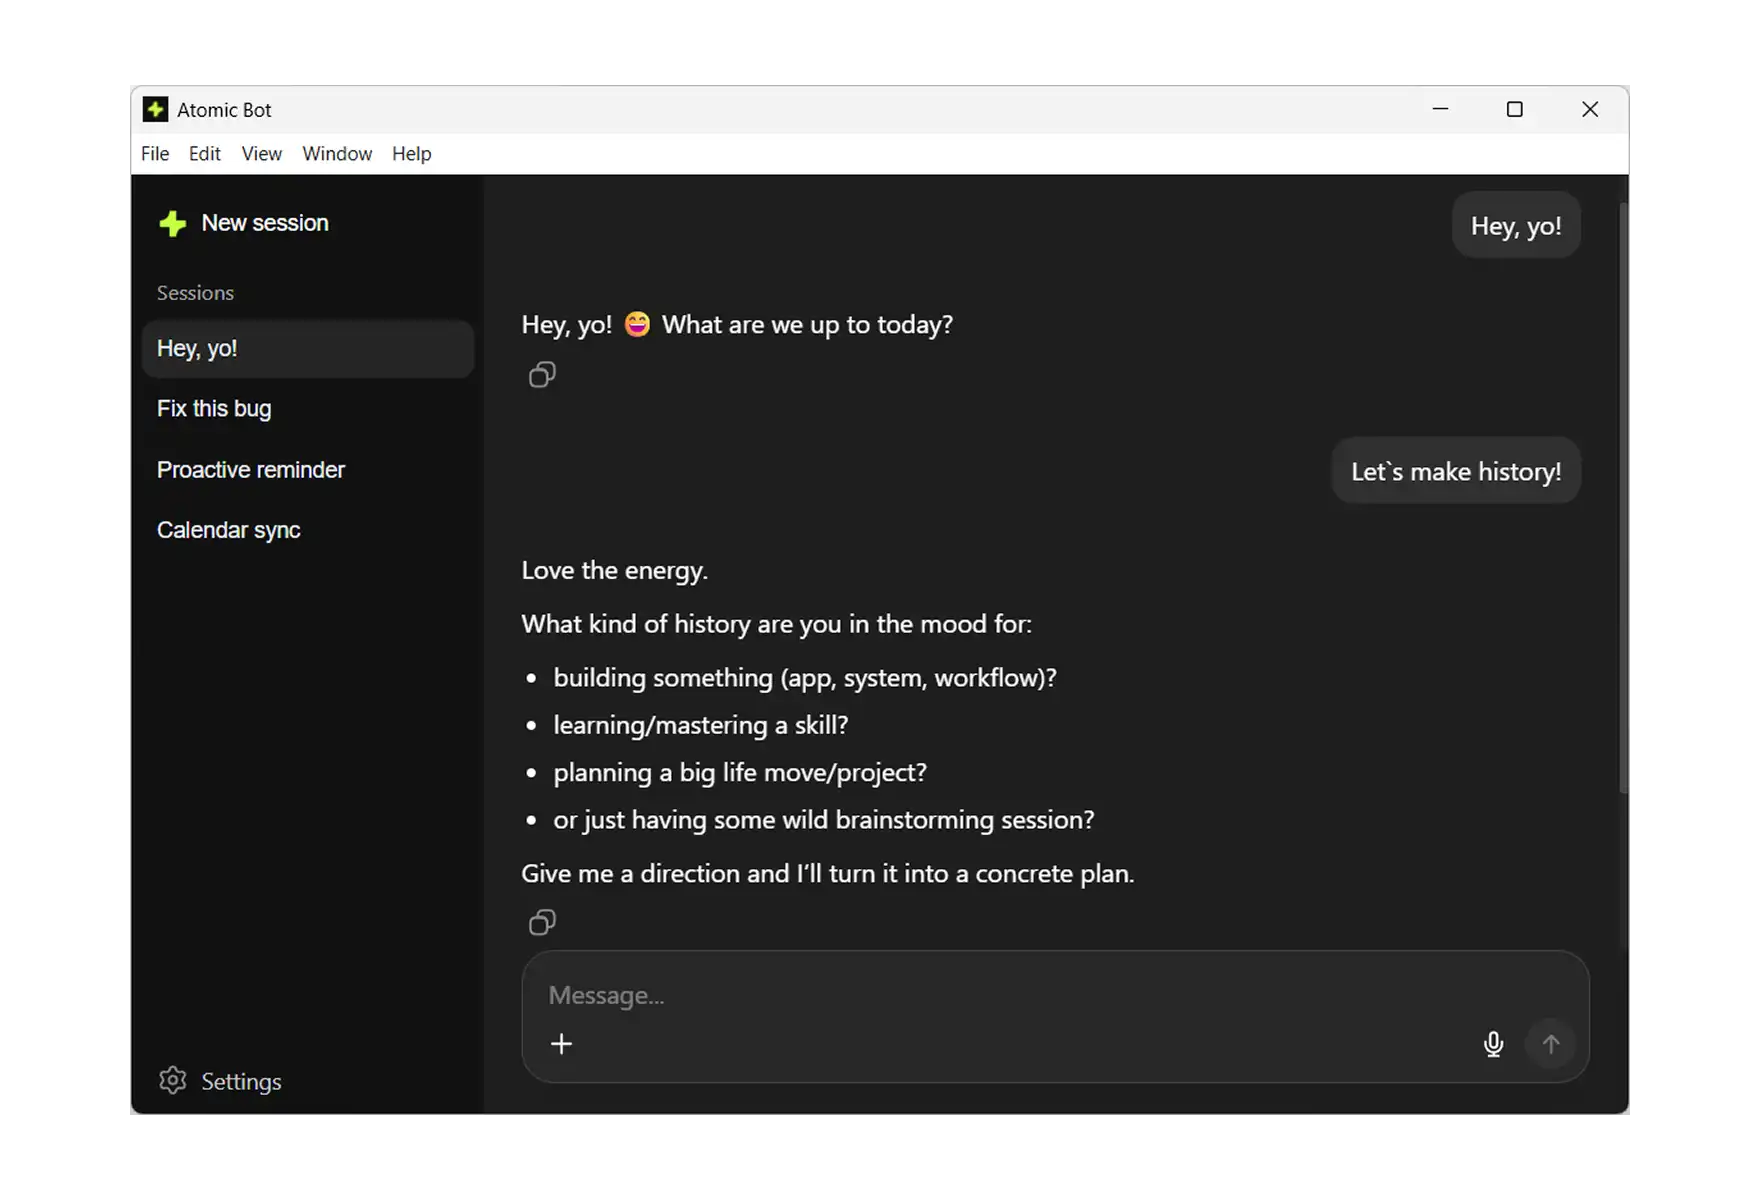
That's It. You're Running OpenClaw. Send a message to your bot. It will introduce itself, show available commands, and start learning about you.
🆚 Atomic Bot vs Manual Install on Windows
You might be wondering what the alternative is, and how people install OpenClaw on Windows without Atomic Bot.
The process is fairly complicated, which is exactly why we’re excited to bring this app to Windows and PC users. Not only that, installing with Atomic Bot has lots of added benefits.
💰 What Does It Cost?
Atomic Bot is free and open-source — the full source code is on GitHub. Bring your own API key and you pay nothing beyond your provider's usage fees.
Don't want to deal with API keys? Atomic Bot also offers an optional subscription that gives you built-in access to multiple AI models — no key setup required. You just pay for what you use, with the ability to set up auto-refil so that you never run out of tokens.
🤔 Who Is This For?
Atomic Bot is perfect for:
- Windows users who want OpenClaw without the terminal
- Non-developers who want personal AI automation
- Anyone who tried the CLI install and gave up
- Teams deploying AI assistants for non-technical members
CLI might be better if:
- You need custom deployment (Docker, VPS, etc.)
- You enjoy tinkering with command-line tools
FAQ
Is Atomic Bot the same as the official OpenClaw?
Atomic Bot is an open-source project that packages OpenClaw into a standard installer for Windows and Mac. When you install OpenClaw through Atomic Bot, you’re getting the same project — just with our custom UI and installation wizard on top. All the power of OpenClaw, without the complex setup or security drawbacks.
Is Atomic Bot the same as OpenClaw?
Atomic Bot is a third-party installer that packages the official OpenClaw npm release. Think of it as a user-friendly wrapper.
Is OpenClaw really free?
Yes, OpenClaw and Atomic Bot are both open-source. You only pay for AI provider API usage.
Is my data safe?
You can install OpenClaw locally on your machine using Atomic Bot. In this setup, your data stays on your device — Atomic Bot doesn’t access your conversations or files.
Get Started
To wrap up, AtomicBot released on windows and now if you’re a PC suer you can install and start using OpenClaw in a single click on your PC. To do this:
- Go to atomicbot.ai
- Download for Windows
- Install in 5 minutes
- Start chatting with your personal AI instantly